Before using the YouTube API in your software applications or automation workflows, it is important to understand its quota system. Think of it as a daily budget: every project starts with 10,000 quota units per day, and every API call you make spends some of those units.
If you rely on the YouTube Data API for content automation or channel management, you’ve likely run into the “quota exceeded” error at some point. This occurs when your application exceeds its daily quota allowance. The good news is that this issue is predictable, completely fixable, and entirely preventable once you understand how the system works and how to optimise your calls.
In this guide, you’ll learn why your YouTube API quota gets exhausted, how to fix the quota exceeded error immediately, the best strategies to avoid hitting it again, and how to integrate the YouTube API more efficiently into your content automation workflows and software applications using Zernio.
How the YouTube API Quota System Works
The YouTube Data API uses a quota system that resets daily and acts like a daily usage budget. Every project starts with a default allocation of 10,000 quota units per day, and every API request consumes part of the allocation, including invalid or failed requests. You can track your remaining units on the Quotas page in the Google API Console.
The following details significantly affect how quickly your application uses quota:
- Paginated responses cost additional quota.
Methods like search.list return data in pages, and each request to fetch the next page consumes the full cost of the method again. If your application processes large result sets, these additional requests can accumulate quickly. - Live streaming methods count toward the same quota.
The YouTube Live Streaming API is part of the YouTube Data API. All live streaming endpoints incur quota costs, and they are included in the same quota budget as your other API calls.
Below is the official quota breakdown for the following YouTube Data API methods. Every request costs at least 1 unit, and heavier operations such as uploads or search queries consume significantly more.
| Resource | Method | Cost |
|---|---|---|
| activities | list | 1 |
| channels | list | 1 |
| update | 50 | |
| search | list | 100 |
| videos | list | 1 |
| insert | 100 | |
| update | 50 | |
| rate | 50 | |
| getRating | 1 | |
| reportAbuse | 50 | |
| delete | 50 | |
| comments | list | 1 |
| insert | 50 | |
| update | 50 | |
| setModerationStatus | 50 | |
| delete | 50 |
How to Fix the “YouTube API Quota Exceeded” Error Message
Fixing a quotaExceeded error starts with understanding how your app is spending quota and identifying which operations consume the most units. The YouTube Data API enforces a strict daily limit, so the fastest and most reliable solution is to optimise how your application uses its quota rather than simply requesting more.
1. Monitor Your Quota Usage in Google Cloud Console
Your first step is to check the Google Cloud Console to get a complete overview of how your project interacts with the YouTube API. The dashboard displays API traffic, error trends, and quota consumption broken down by endpoint, making it easy to identify unusual spikes long before they trigger a quotaExceeded error.
For example, if the search.list method suddenly becomes the top consumer on your charts, you immediately know where to adjust your logic. This visibility is invaluable for both troubleshooting and long-term planning.
2. Audit Every API Call
Once you get the breakdown of how your application interacts with the YouTube API, perform a full audit of your API calls. Document every method your app uses and note the exact quota cost of each one. Common examples include:
- videos.list or channels.list — 1 unit
- search.list — 100 units
- videos.insert (upload) — 100 units
This audit shows the exact operations that are draining your quota, which can be inefficient loops, unnecessary requests, repeated data fetches, or heavy reliance on high-cost endpoints.
3. Minimise Your Request Volume With Batching and Caching
Reducing the total number of API calls your application makes is one of the most effective ways to prevent quota exhaustion.
Batching helps by allowing you to combine multiple lookups into a single request. For example, if you need details for 50 videos, you can pass all their IDs into one videos.list call instead of making 50 individual requests.
Caching prevents your system from repeatedly fetching slow-changing data such as subscriber counts, video metadata, or channel details. Instead of calling the API every time a page loads, fetch the data once per hour and store it locally.
4. Use ETags to Avoid Unnecessary Updates
ETags are one of the most underused features of the YouTube API. Every response includes an ETag, which acts as a version identifier. When you request the same resource again, include the ETag in your request. If nothing has changed, YouTube returns a 304 Not Modified error, which does not charge any quota.
5. Manage Request Timing
Running large sync jobs for all users concurrently can instantly drain your quota budget. A better approach is staggering operations throughout the day. By distributing requests evenly, you prevent spikes that could overload your daily limit.
If you eventually hit the limit unexpectedly, the short-term fallback is simple: wait for the daily reset at midnight Pacific Time. Your quota automatically refreshes, and your application resumes normal operation.
6. Request a Quota Increase From Google
If your application is genuinely growing and all optimisations are already implemented, you can request a quota increase. Google evaluates requests carefully and only approves those that demonstrate efficient usage and full compliance with API policies.
Before requesting more quota, prepare the following:
- A clear audit of your current consumption
- Proof that you have optimised high-cost operations
- Evidence of proper caching, batching, and ETag usage
- A description of your use case with projected growth
- Metrics showing how many requests your app makes per day
The table below shows various methods of fixing the YouTube API error:
| Fix Method | Goal | What It Solves |
|---|---|---|
| Check Usage in Cloud Console | Identify quota-heavy endpoints | Provides accurate insights to guide optimisation |
| Audit API Calls | Map every request and cost | Reveals redundant, repetitive, or expensive operations |
| Batching and Caching | Reduce total request count | Offers the biggest and most immediate quota savings |
| Use ETags | Skip unchanged data | Lets you check for updates at zero quota cost |
| Control Request Timing | Prevent traffic spikes | Avoids early depletion of daily limits |
| Wait for Reset | Temporary recovery | Useful for accidental overuse or testing loops |
| Request a Quota Increase | Scale high-traffic apps | Supports long-term growth after optimisation |
Stop building social integrations from scratch.
One API call to publish, schedule, and manage posts across 15+ platforms.
How to Integrate and Interact With the YouTube API
Whether you are building a creator dashboard, a content distribution platform, or internal automation workflows, the way you structure your YouTube API interactions determines both performance and long-term stability. Efficient integrations require proper authentication, responsible quota usage, and predictable upload or scheduling behaviour.
In this section, you will learn how to interact with the YouTube API using Zernio, a unified social communication API designed to simplify cross-platform publishing and automation. With Zernio, you can create and schedule content across 14 different social media platforms through a single interface.
Zernio (formerly Late) is an all-in-one social media management layer that supports multimedia content across channels such as YouTube, Twitter (X), TikTok, and Instagram. Instead of writing separate integrations for each platform, Zernio abstracts the complexity behind one API, allowing you to focus on your product while ensuring consistent upload workflows, reliable scheduling, and centralised error handling.
Now, let’s set up Zernio.
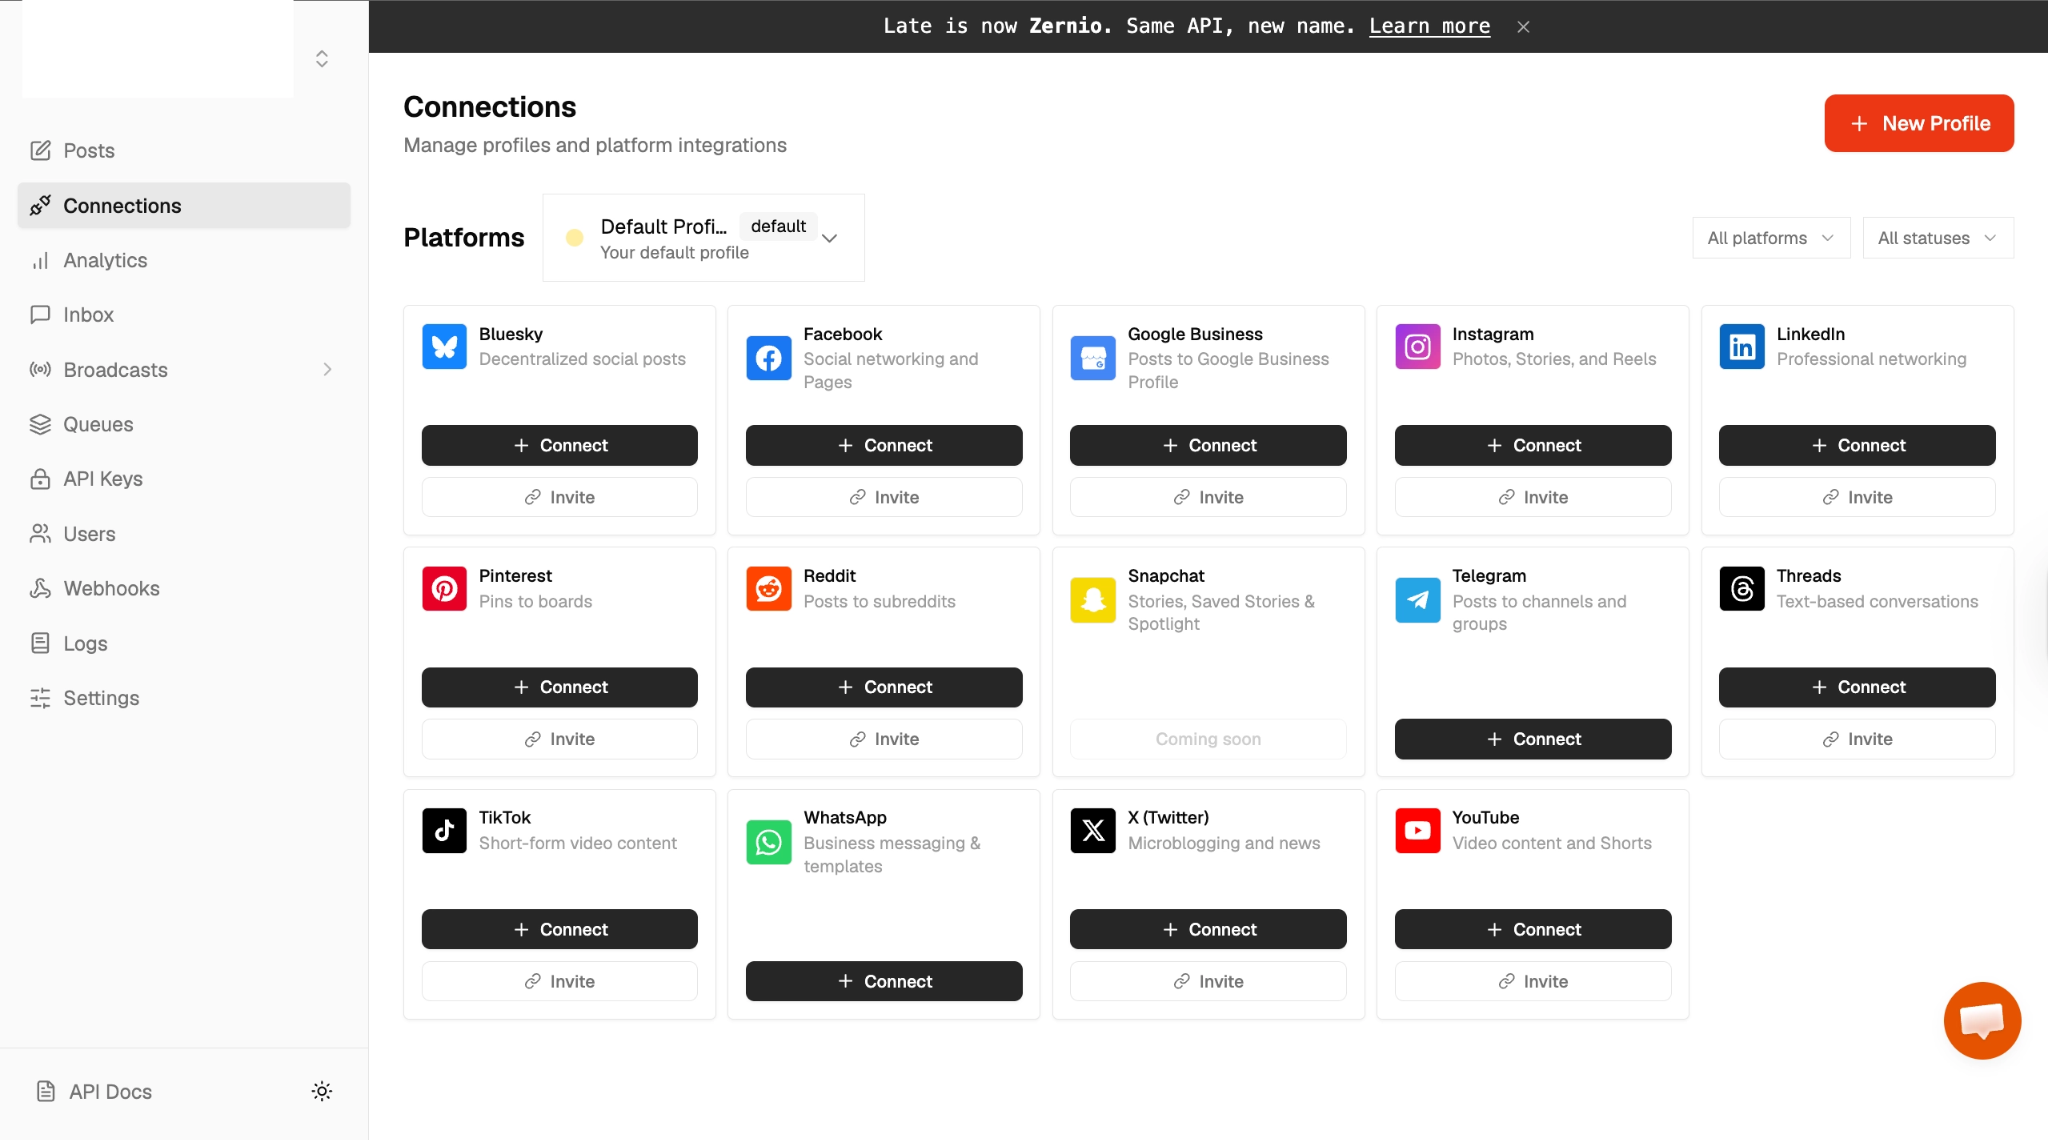
Create a Zernio account and log in to your dashboard.

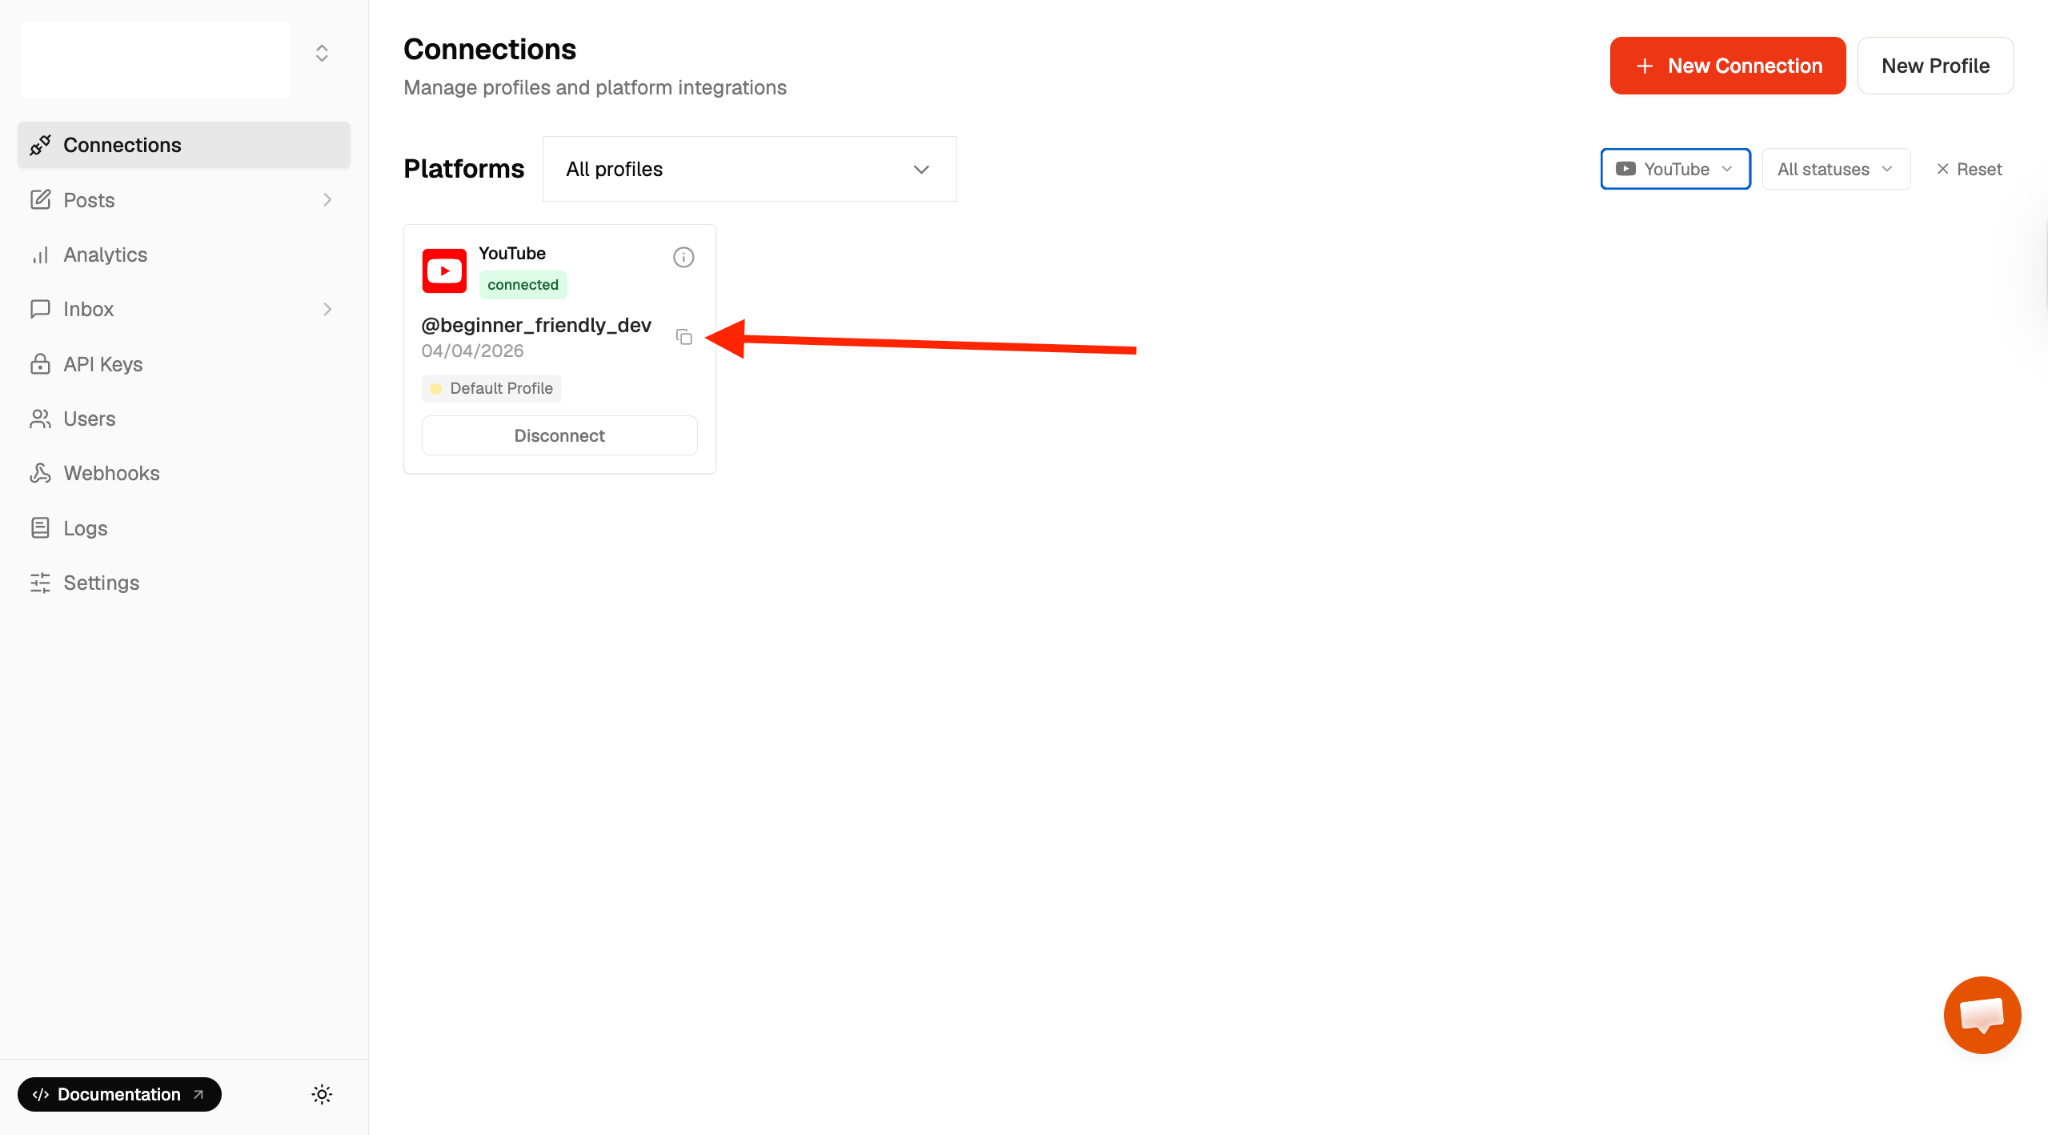
Select Connections from the sidebar menu and connect your YouTube account to Zernio.
After connecting your YouTube account to Zernio, copy your account ID and save it somewhere on your computer.
Scheduling and Publishing YouTube Content via the Zernio API
Using Zernio, you can upload a video, attach metadata, define visibility, set a future publish time, and manage thumbnails — all within the same request. Zernio handles the required pre-processing, YouTube upload protocols, and scheduled visibility change at the exact moment your content should go live.
First, create a folder to hold your project files.
mkdir api-youtube
cd api-youtube
Before we proceed, copy your Zernio API key and YouTube account ID and store them in a .env file within the project directory.
ZERNIO_API_KEY=<your_api_key>
ZERNIO_YOUTUBE_ACCOUNT_ID=<your_youtube_account_id>
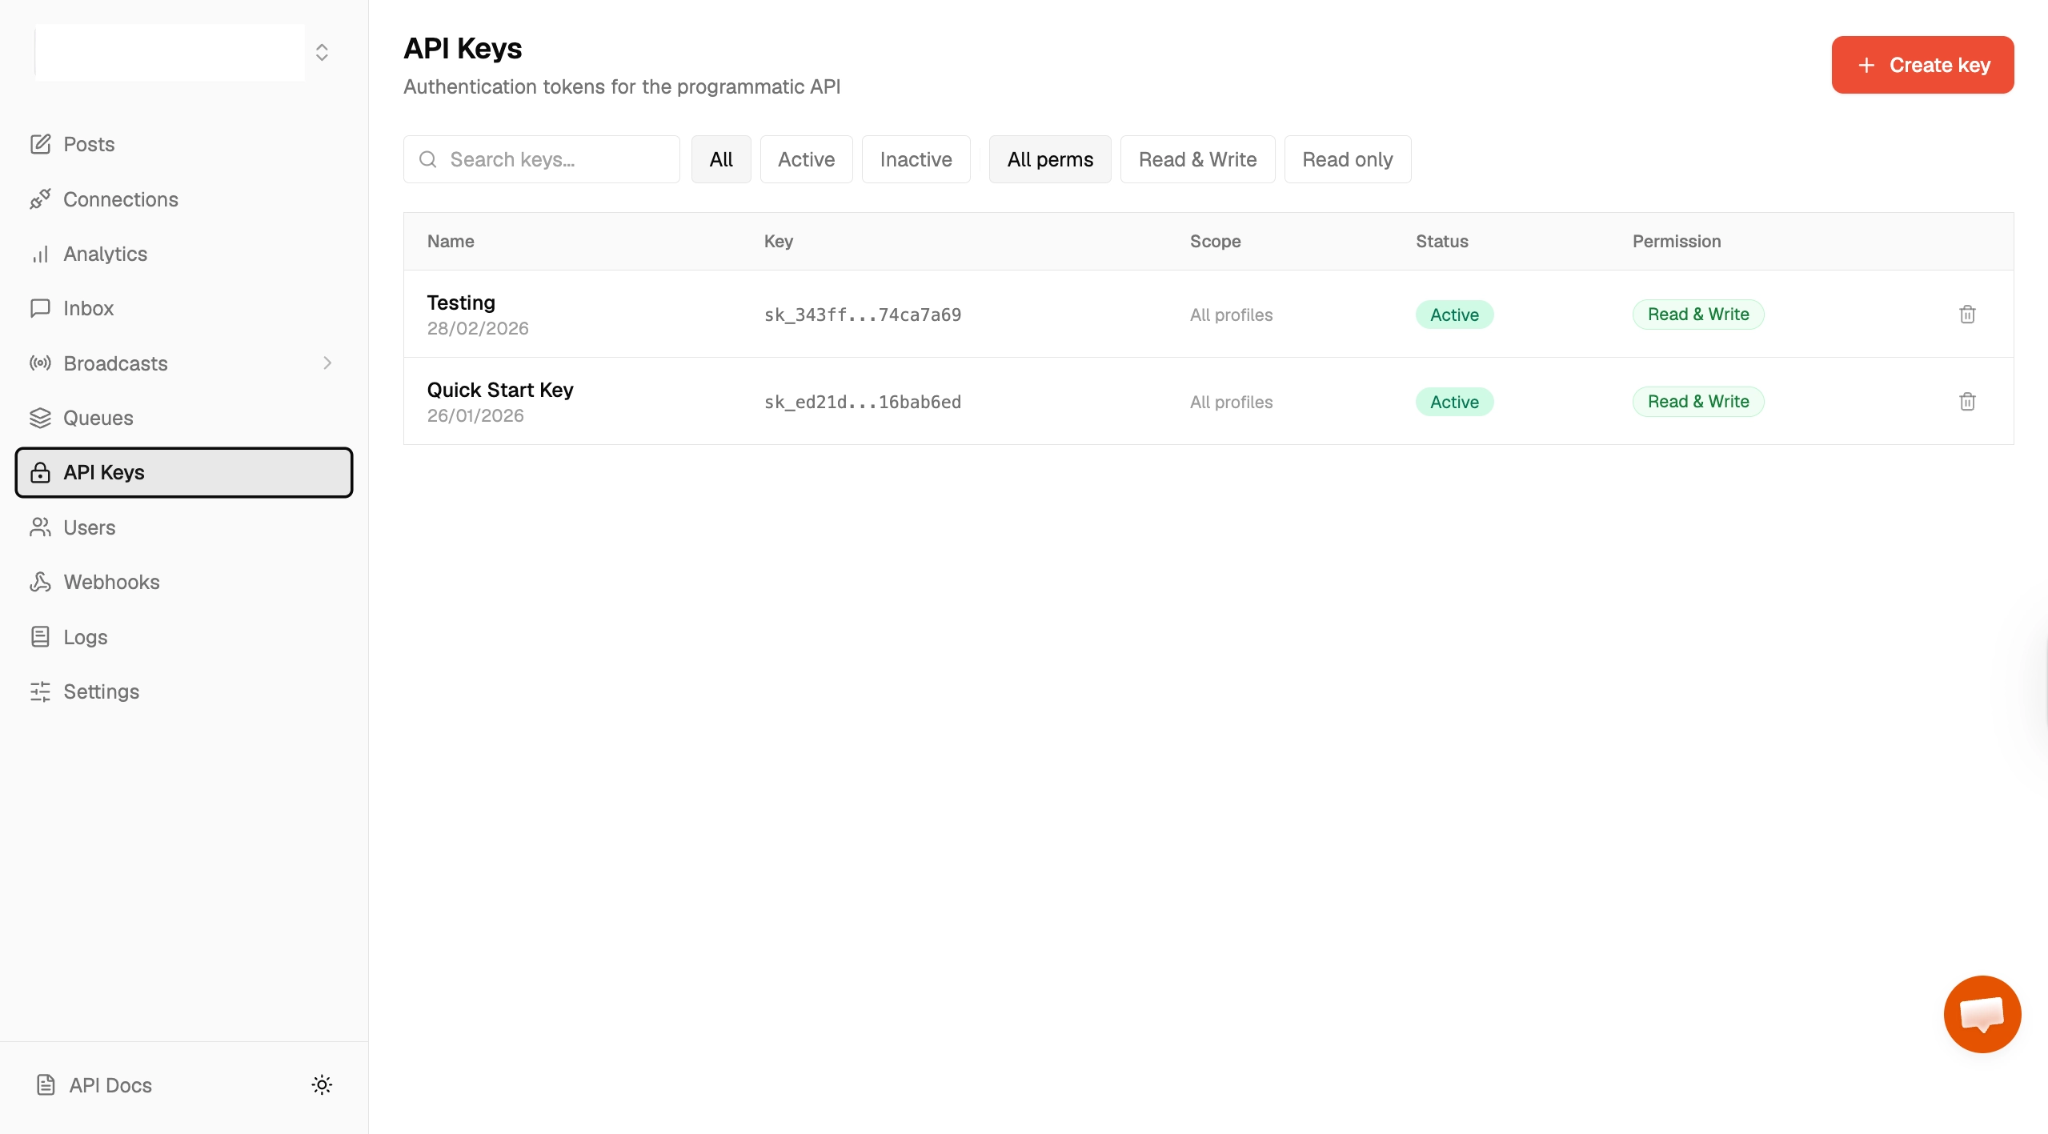
Select API keys from the sidebar menu to create a new API key.
Run the following code snippet to create a package.json file within the project folder.
npm init -y
Next, install the project dependencies. We will use Axios for making HTTP requests to the Zernio API and Dotenv for managing environment variables securely.
npm install axios dotenv
Create an index.js file within the project folder and import the newly installed packages into the file.
require("dotenv").config();
const axios = require("axios");
Add the following code snippet into the index.js file to publish your video to your YouTube channel.
async function publishYoutubeVideo() {
   const response = await axios({
       url: "https://zernio.com/api/v1/posts",
       method: "post",
       headers: {
           Authorization: `Bearer ${process.env.ZERNIO_API_KEY}`,
           "Content-Type": "application/json",
       },
       data: JSON.stringify({
           content:
               "In this tutorial, I walk through building a REST API from scratch.\n\n#programming #tutorial",
           mediaItems: [
               {
                   type: "video",
                   url: "https://stream-blog.s3.amazonaws.com/blog/wp-content/uploads/28b9eafe722e08a441446820b626efc8/Build-a-TikTok-styled-Livestream-app-with-Stream-Firebase-and-Next.js.mp4",
                   thumbnail:
                       "https://drive.google.com/u/0/drive-viewer/AKGpihbpb7LfpezDpgF_KQ6xhH7_k0kyBrMPTQAEZuNWLVtpTS8t4EzzKcqkiGylcVN6giQlW0CY4LDbk5LdNb7ypQKmslX2g84Dq4I",
               },
           ],
           platforms: [
               {
                   platform: "youtube",
                   accountId: process.env.ZERNIO_YOUTUBE_ACCOUNT_ID,
                   platformSpecificData: {
                       title: "Build a REST API from Scratch",
                       visibility: "public",
                       categoryId: "27",
                       madeForKids: false,
                   },
               },
           ],
           publishNow: true,
       }),
   });

   console.log(response.data);
}

publishYoutubeVideo();
The publishYoutubeVideo function demonstrates how to use the Zernio API to upload and publish a video to your YouTube channel in a single request. It handles the full workflow, including attaching the video file, setting metadata like title and category, and controlling visibility. By setting publishNow: true, the video is published immediately.
Once you have added the publishYoutubeVideo function to your index.js file, you can execute it by running the following command in your terminal:
node index.js
Usage and Limitations of the Zernio YouTube API
The Zernio YouTube API allows developers to automate video uploads, manage metadata, and integrate YouTube functionality directly into applications. While it supports many operations, there are specific behaviours and rules to keep in mind to ensure smooth uploads and accurate scheduling.
- YouTube automatically detects Shorts based on duration and aspect ratio. Any video that is three minutes or shorter with a vertical (9:16) aspect ratio is classified as a Short.
- When you schedule a YouTube video for future publication, it is uploaded immediately as “private” regardless of your target visibility setting, and is assigned a video URL. At the scheduled time, the visibility automatically updates to your intended setting, usually “public.”
- When providing your video URL for upload, make sure that the URL is publicly accessible and returns actual video bytes (not an HTML page).
Currently, you cannot perform the following actions using the Zernio YouTube API and must use the YouTube interface instead:
1. Create Community posts
Zernio API does not support posting to the YouTube Community tab. You will need to manually publish community updates, such as polls, text posts, or images, directly on YouTube.
2. Go Live or schedule Premieres
Live streaming, including scheduling live events or Premieres, is not available through the API. All live event setups must be done through YouTube Studio.
3. Add end screens, cards, or chapters (timestamps in the description do work)
While you can include timestamps in video descriptions to simulate chapters, adding interactive elements such as end screens or clickable cards must be done on YouTube’s platform.
4. Manage monetisation settings
API access does not extend to monetisation features. You can only enable ads, memberships, or Super Chat settings directly on YouTube.
5. Create or delete playlists
You can list existing playlists and add videos to them, but creating new playlists or deleting existing ones is not supported. Any structural playlist management must be done in YouTube Studio.
6. Like or dislike videos
Voting actions, such as liking or disliking videos, can only be performed manually by signing into your YouTube account.
7. Upload captions or subtitles
Zernio API does not currently support uploading caption files. Adding or editing subtitles requires manual upload through YouTube’s caption editor.
Conclusion
Running into a “YouTube API quota exceeded” error can disrupt your workflows, halt automated uploads, and affect your content management systems. Understanding how the YouTube API quota system works, how each method consumes units and how the daily limit resets is the first step toward preventing these interruptions.
Zernio API provides a practical way to manage YouTube content while respecting these quota limits. By leveraging Zernio’s capabilities for uploading videos, setting metadata, and scheduling content, you can optimise API calls, reduce redundant requests, and monitor usage effectively. Strategies such as batching requests, caching frequently accessed data, and using ETags can prevent unexpected quota exhaustion and maintain a smooth workflow.
Here are some other helpful resources to consider:
- How to Post to Social Media Using OpenClaw - Step-by-Step Guide
- n8n workflow examples: 5 Cross-Platform Automation Tips
- Twilio WhatsApp Pricing Breakdown: What It Really Costs
Thank you for reading! 🎉